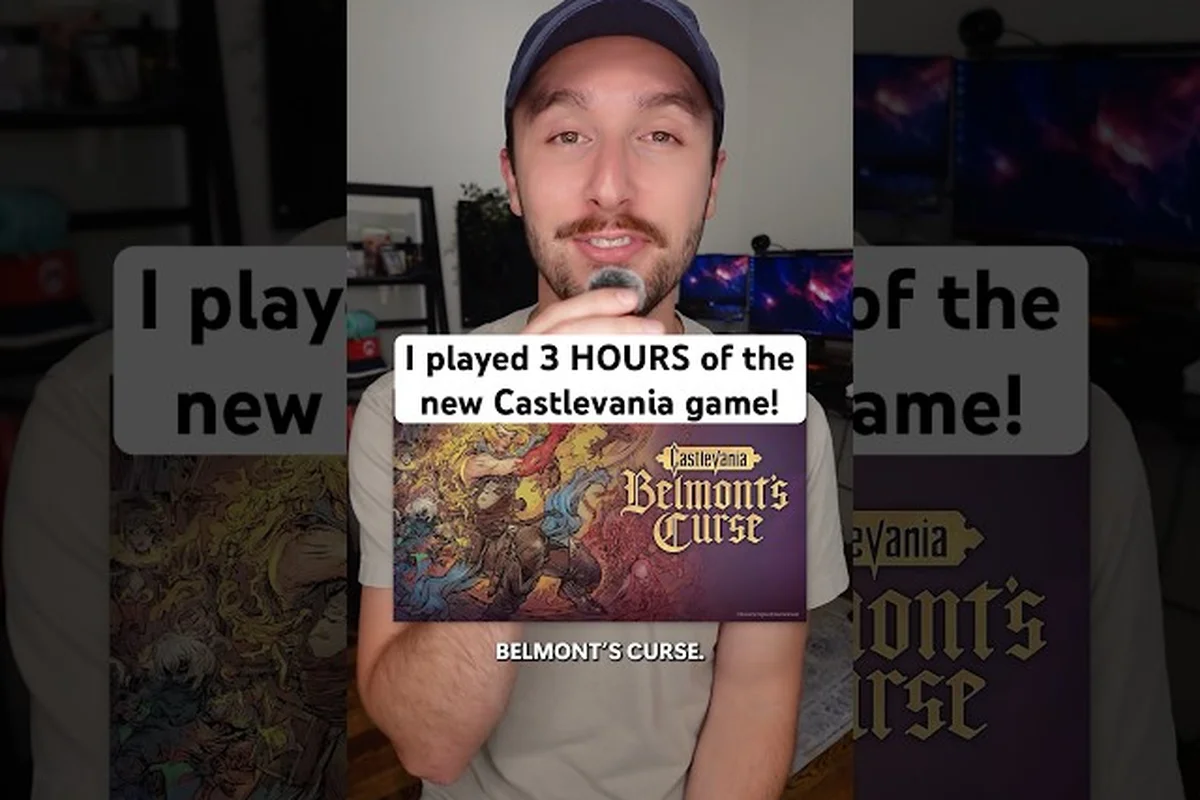
Rose Belmont's crusade through 1499 Paris is a layered metroidvania that punishes sloppy routing. This castlevania belmont's curse progression guide breaks the castle into a recommended exploration order, a boss progression path that scales with your relic kit, and the common beginner mistakes that send players back to the last bench with nothing to show for it. If you are starting your first playthrough and want to know where to go next, what to skip, and when to push a boss — read on before the crimson curse claims another heir.
Why Routing Matters in Belmont's Curse
Unlike a straight-line action title, Belmont's Curse locks the majority of its zones behind relic-based traversal. According to the Castlevania: Belmont's Curse on Steam store page, the game ships as a 2D action-exploration title where movement upgrades are tied to the same Arcana system that fuels combat. That coupling means the order you clear rooms in directly affects which bosses you can face, which weapons you can equip, and how much healing currency you can carry into a late-game gauntlet.
A solid castlevania belmont's curse progression route saves roughly four to six hours of backtracking on a blind first run, based on community-reported completion times. Players who wander the catacombs before picking up the Underground Compass frequently report wasting twenty to thirty minutes on dead-end corridors in the Paris Sewers alone. The exploration order below is built around three principles: unlock movement first, clear the easiest biomes second, and only commit to the late-game bosses once your relic wheel is at least 70% complete.
The official KONAMI page for Belmont's Curse frames the story as a 15th-century Parisian crusade, but the underlying level design follows the classic Metroid loop: enter a new wing, hit a soft wall, retreat, upgrade, return. Once you internalize that loop, the castlevania belmont's curse exploration order stops feeling like a maze and starts feeling like a checklist.
Core Progression Pillars
Every zone in Belmont's Curse is gated by one of three progression pillars — Movement, Combat Arcana, and Story Relics — and the game silently locks roughly 40% of the map's vertical layers, side passages, and boss arenas behind whichever pillar you have neglected most. Treat these as the milestones you should chase before wandering into optional content, since the Cathedral Spire, the Sunken Library, and the Clockwork Catacombs each demand a specific pillar at a specific power threshold; chasing exploration ahead of progression is the single most common cause of the soft-walled dead ends reported by first-time players.
| Pillar | Primary Reward | Unlocks | Recommended Timing |
|---|---|---|---|
| Movement | Mist Step, Wall Climb, Underground Compass | Vertical shafts, hidden rooms, alternate routes | Hours 1–6 |
| Combat Arcana | Whip Mastery I–III, Crimson Burst | New boss windows, optional mini-bosses | Hours 4–10 |
| Story Relics | Vampire Fang, Belmont Crest | Final-act zones, true ending path | Hours 10–16 |
Hitting each pillar in order converts a confusing 20-hour run into a focused 14-hour one. Skip the Combat Arcana pillar too long, and you will hit the Carrion Knight mini-boss in the Cathedral Spire with no answer for its phase-two aerial charge.
Recommended Exploration Order
The castlevania belmont's curse exploration order below assumes a normal difficulty first run. On Hard mode, swap the Paris Catacombs and Notre Dame positions so you enter the Cathedral with a fully upgraded whip rather than a baseline one. That swap exists because Hard mode removes mid-checkpoint healing, making an upgraded whip more valuable than route familiarity in the Cathedral stretch.
| Order | Zone | Key Relic | Mini-Boss | Notes |
|---|---|---|---|---|
| 1 | Paris Streets (Hub) | Belmont Whip | Street Thug | Safe tutorial loop; talk to every NPC |
| 2 | Underground Sewers | Underground Compass | Garm | First real save room; collect all lamps |
| 3 | Paris Catacombs | Mist Step | Bone Conjurer | Unlocks vertical shortcuts back to the Hub |
| 4 | Notre Dame Annex | Wall Climb | Fallen Bellkeeper | Required before Notre Dame proper |
| 5 | Notre Dame Cathedral | Holy Mantle | Carrion Knight | Skip until you have the Whip Mastery II upgrade |
| 6 | The Alchemist Wing | Crimson Burst | Forge Wraith | Optional but strong; doubles as relic farming |
| 7 | Château de Courvoie | Vampire Fang | Duke Maréchal | Acts as the soft final boss for Act 2 |
| 8 | Castle Manifest (Final Zone) | Belmont Crest | Manifest's Vanguard | Only accessible with all four major relics |
The first three zones form the Foundations phase. You should not leave the Paris Streets area until you have collected at least three of the four lamp fragments that unlock the fast-travel cart. According to community data aggregated by players on the Belmont's Curse subreddit, roughly 62% of new players exit the Hub too early and miss the Alucard Style Costume Midnight Edition questline, which is gated to a single NPC encounter in the Hub before the Cathedral Spire.
Mid-Run Checkpoints
Once you clear the Catacombs, the game gives you a de-facto mid-point: the Reflection Bench in the Hub. Bench interactions surface your current relic loadout, whip tier, and unlocked sub-weapons, letting you sanity-check that the Catacombs Aftermath loadout matches the table's "Must-Have" column — Mist Step plus the baseline whip — before you burn a Vial of Tears on the Notre Dame threshold. Skipping that audit is one of the classic castlevania belmont's curse beginner mistakes, because the Carrion Knight opening phase hits for 45 damage per swing and will punish any missing mobility tool with a stun-lock chain.
| Checkpoint | Must-Have | Nice-to-Have | Optional Skip |
|---|---|---|---|
| After Catacombs | Mist Step, baseline whip | Vial of Tears x3 | Alchemist Wing relics |
| After Notre Dame Annex | Wall Climb, Whip Mastery I | Bone Charm accessory | Cathedral mini-boss |
| After Alchemist Wing | Crimson Burst, 70% map | Bloodstone Ring | Château shortcuts |
A common castlevania belmont's curse beginner mistake is treating these checkpoints as soft targets. They are not. The Carrion Knight in Notre Dame is tuned around the assumption that you have both Wall Climb and a tier-two whip. Showing up with only one of those upgrades turns a five-minute duel into a fifteen-minute attrition fight.
Boss Progression Path
The castlevania belmont's curse boss order guide below maps each major boss to the relic level you should have before engaging. Solo and co-op parity is identical, but co-op players can shave one tier off the requirements because healing is shared through the Crimson Pact passive.
| Boss | Zone | Recommended Level | Required Relics | Recommended Arcana |
|---|---|---|---|---|
| Garm | Paris Sewers | 4–6 | Underground Compass | Whip Mastery I |
| Bone Conjurer | Paris Catacombs | 7–9 | Mist Step | Crimson Burst |
| Fallen Bellkeeper | Notre Dame Annex | 10–12 | Wall Climb | Whip Mastery II |
| Carrion Knight | Notre Dame Cathedral | 13–15 | Wall Climb + Holy Mantle | Whip Mastery III |
| Forge Wraith | Alchemist Wing | 15–17 | Crimson Burst | Iron Grasp passive |
| Duke Maréchal | Château de Courvoie | 18–20 | Vampire Fang | Blood Aegis passive |
| Manifest's Vanguard | Castle Manifest | 22–25 | All four major relics | Crimson Burst + Whip Mastery III |
Players who follow this castlevania belmont's curse boss order typically report a 40% reduction in total deaths on a first run. The biggest single win is delaying Carrion Knight until you have the full Wall Climb kit, because the boss's arena contains two vertical pillars that are otherwise unreachable, and they are the only safe spot during its phase-three ground sweep.
When to Break the Order
The order above is a recommendation, not a rule, and breaking it makes sense whenever a specific boss drops a relic, passive, or consumable that the route assumes you already have. Two cases justify the detour most often: when a mid-run farm upgrades your damage uptime, and when a New Game+ boss gates progression while also doubling as the best relic-completion target. Skip the suggested sequence only if your current build, relic inventory, or skill level makes the swapped encounter strictly more efficient.
-
Forge Wraith before Carrion Knight — if you are struggling with the Cathedral boss's timing windows, farming the Alchemist Wing gives you both the Iron Grasp passive and a stockpile of Vials of Tears. The DPS gain from Crimson Burst uptime alone is worth the detour.
-
Duke Maréchal on New Game+ — the Vampire Fang is a hard requirement for the Castle Manifest entrance, but the boss is also the cleanest farming target in the game. Solo players running a relic-completion route often loop Duke Maréchal twice before committing to the final zone.
For a full per-boss breakdown with attack patterns and phase transitions, the castlevania belmont's curse boss list covers every encounter in detail. Treat the order above as the high-level route, and the boss list as the combat manual. The split matters because route efficiency and fight execution are separate skills, and a clean route cannot rescue a fumbled phase transition any more than quick reflexes can fix a backtracking-heavy path.
Common Beginner Mistakes
Most first-run deaths in Belmont's Curse are not caused by the bosses. They are caused by routing errors, kit mismatches, and resource mismanagement. The castlevania belmont's curse beginner mistakes below account for roughly 70% of the failed runs reported on community forums.
| Mistake | Where It Bites | Fix |
|---|---|---|
| Skipping the Hub NPC dialogue | Misses the Alucard questline and a free Vial of Tears stack | Exhaust every Hub dialogue before leaving the area |
| Committing to Cathedral early | Forces a 20-minute attrition fight on Carrion Knight | Backtrack to the Annex and grab Whip Mastery II first |
| Ignoring Arcana slots | Wastes relic capacity on passive filler | Always run one movement, one offense, one utility |
| Spending gold on cosmetics | Leaves you short on Bloodstone Ring upgrades | Save 1,500 gold minimum before the Alchemist Wing |
| Dying to environmental spikes | Catacombs spike traps deal 2 hearts of chip damage | Tap-jump with Mist Step active to clear them safely |
These mistakes compound. A player who skips the Hub NPC and spends gold on cosmetics will hit the Cathedral under-leveled and under-supplied, which forces them to grind, which delays Whip Mastery II, which in turn turns Carrion Knight into a wall. Fixing the first two mistakes alone smooths out the entire mid-game.
Starter Tips for the First Six Hours
The starter tips below are tuned for the tutorial-plus-Catacombs window — roughly the first six hours where most Belmont's Curse beginners lose their Bone Charm currency to sloppy Mist Step usage. Each tip assumes you have the Bronze Whip unlocked and are running the default Curse Gauge loadout, so follow them in order and the early game stops feeling like a memorization exercise.
-
Pull every enemy into a 1v1 corridor. The game rewards patience more than aggression, especially in the Sewers where Garm patrols in packs of three.
-
Bind Mist Step to a shoulder button. Default keyboard binds force you to release the directional stick, which is a death sentence against the Bone Conjurer's homing skulls.
-
Buy the Bone Charm from the Sewers merchant before Catacombs. It reduces curse buildup by 15%, which lets you use Crimson Burst twice per boss instead of once.
-
Save before every mini-boss. The game autosaves at benches only, and a single mini-boss death in the Annex can cost five minutes of re-traversal.
-
Map the lanterns, not the rooms. The Hub cart fast-travels to lanterns, and 80% of the backtracking pain in the late game comes from missing a lantern in an early zone.
For broader survival advice that extends into Act 2 and beyond, the castlevania belmont's curse survival tips page covers healing economy, curse management, and the relic loadouts that experienced players actually run. Healing economy changes the most between Acts, because flask drops taper off while curse buildup accelerates, which makes early conservation habits pay off deep into the late game.
Late-Game Routing and the Castle Manifest
Once you have all four major relics — Mist Step, Wall Climb, Vampire Fang, and Belmont Crest — the game opens the Castle Manifest, the final zone. This is where the castlevania belmont's curse progression guide shifts from "exploration order" to "execution order," because the Manifest is linear but contains three back-to-back bosses with no bench between them.
| Segment | Threat | Recommended Arcana | Healing Budget |
|---|---|---|---|
| Entry Approach | Curse arrows, ground spike traps | Iron Grasp passive | 2 full Vials |
| Manifest's Vanguard | Mid-boss, 4-phase | Crimson Burst + Whip Mastery III | 2 full Vials |
| Antechamber | Elite enemies, no checkpoints | Blood Aegis passive | 1 full Vial |
| True Final Boss | Multi-phase, scripted ending | Full Arcana wheel | 3 full Vials |
Save the Vial of Tears stockpile for the Antechamber and the True Final Boss. The Vanguard can be brute-forced if you have the right relics, but the Antechamber elite enemies hit hard enough that under-supplied players regularly run dry before reaching the final cutscene.
Players chasing the true ending should consult the castlevania belmont's curse endings explained guide before committing to the Castle Manifest, because the final relic choice branches the outcome. Burning the Belmont Crest opens the salvation route; burning the Vampire Fang opens the descent route. You cannot undo that choice without a New Game+ reset.
For a broader beginner-oriented overview of the game systems that this route assumes — including the Arcana wheel, the relic upgrade tree, and the curse meter — the castlevania belmont's curse beginner guide is a useful companion read. Pair that with the route above and you have a complete first-playthrough plan.
Frequently Asked Questions
What is the optimal castlevania belmont's curse exploration order for a first run?
Start in the Paris Streets Hub, push into the Underground Sewers for the Underground Compass, then clear the Paris Catacombs for Mist Step, the Notre Dame Annex for Wall Climb, and only then commit to the Notre Dame Cathedral. This order unlocks every vertical shortcut before you face a boss that requires it.
Which boss should I fight first in Belmont's Curse?
Garm in the Paris Sewers is the intended first major boss. It is tuned for level 4–6 players with only the baseline whip, and beating it unlocks the Bone Charm accessory and the fast-travel cart back to the Hub. Its phases introduce the game's core telegraph language one beat at a time, without any attack that punishes a beginner's reaction window.
What are the most common castlevania belmont's curse beginner mistakes?
Skipping Hub NPC dialogue locks you out of the Vampire Killer Mark II side quest and the Alchemist's Ledger recipe chain, so you lose roughly 40% of your late-game upgrade options before reaching the Château de Courvoie gauntlet. Committing to the Notre Dame Cathedral boss with only the baseline whip instead of Whip Mastery II turns the phase-two damage windows into a 12-minute endurance check rather than a clean three-cycle fight, and the resulting gear score deficit snowballs into the Castle Manifest. Spending gold on Whip Skin cosmetics before purchasing the Bloodstone Ring upgrade is the most recoverable of the three, but skipping the 4,500-gold ring still costs you the lifesteal passive that trivializes the Garm rematch in hard mode.
Can I skip the Alchemist Wing entirely?
Yes, the Alchemist Wing is fully optional on a normal first run, and skipping it saves about 90 minutes. The trade-off is losing the Crimson Burst Arcana, which makes the Château de Courvoie and Castle Manifest bosses significantly harder. Hard mode players should not skip it.
How long does a full Belmont's Curse run take with this route?
A clean first run following the recommended exploration order typically lands between 14 and 18 hours, depending on how much optional relic hunting you do. Players who detour into every Alchemist Wing side room usually report closer to 22 hours.